PhotoCAD
Convert
Patent DrawingsArchitectureSurveyorsIndustrial DesignFashion DesignDigital FabricationHeritage & ArchaeologyIllustration
GalleryAPIPricing
Log in
PhotoCAD

Convert photos to CAD-ready vector files. DXF, DWG and SVG for manufacturing, CNC, IP work and architectural drawings.

Product

  • How it works
  • Convert
  • Gallery
  • Projects
  • Pricing
  • API

Solutions

  • Patent Drawings
  • Architecture
  • Surveyors
  • Industrial Design
  • Fashion Design
  • Digital Fabrication
  • Heritage & Archaeology
  • Illustration
  • Laser Cutting
  • Vinyl Cutting
  • CNC Routing
  • Plasma & Metal Art

Converters

  • Image to CAD
  • Sketch to CAD
  • PDF to DWG
  • JPG to DWG
  • PNG to DWG
  • Image to DXF
  • PDF to DXF
  • JPG to DXF
  • PNG to DXF
  • Raster to Vector
  • Trace Photo to Vector
  • Logo to Vector
  • Signature to Vector

Guides

  • Paper drawing to CAD
  • Floor plan to CAD
  • Photo to elevation drawing
  • Orthophoto to CAD
  • Archaeological drawing
  • Point cloud to CAD
  • Aerial image to CAD
  • Trace an image in AutoCAD
  • Image to SolidWorks

Company

  • About
  • Contact
  • Privacy Policy
  • Terms of Service
  • License
  • Trust & Security

© 2026 PhotoCAD. All rights reserved. PHOTOCAD® is a registered trade mark.

/Guides/Orthophoto to CAD

PhotoCAD Guides

Orthophoto to CAD: Elevations and Plans from Photogrammetry

A facade or interior orthophoto from Metashape, RealityCapture, or Pix4D, a rectified photograph, an orthomosaic of a floor. PhotoCAD drafts the elevation or plan as clean linework, at real scale.

PhotoCAD drafts from any orthophoto of a building

  • Facade orthophotos

    A planar orthophoto of a front from Metashape, RealityCapture, RealityScan, or Pix4D, drafted as a measured elevation.

Create building drawings from an orthophoto

Each drawing was converted in PhotoCAD from an orthophoto or a rectified photograph. Drag the slider to compare.
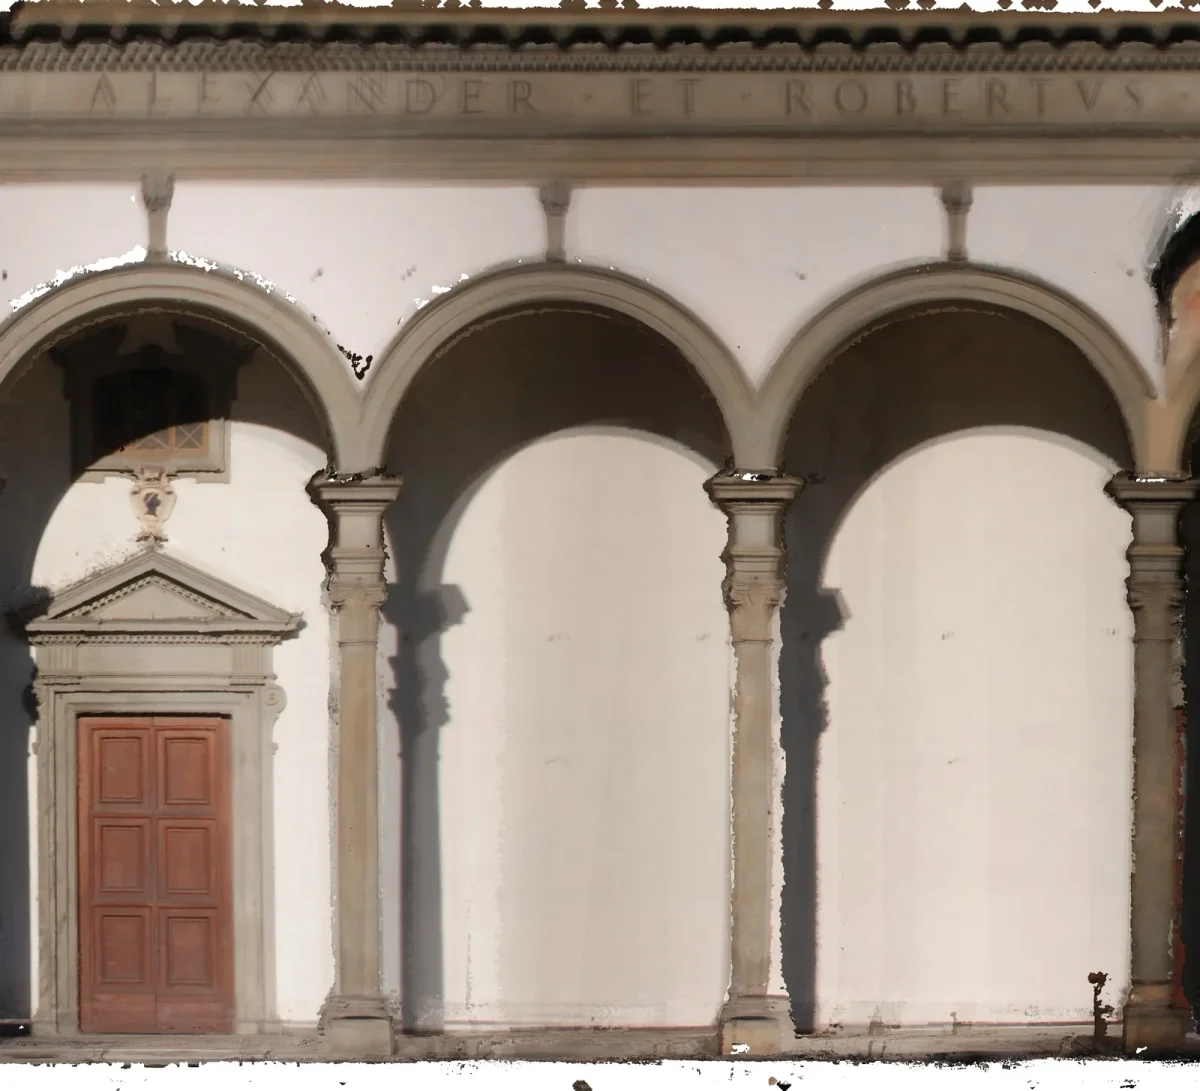
Original photo of Santissima Annunziata Portico Elevation from an Orthophoto
Elevation line drawing of three bays of the Renaissance portico of Santissima Annunziata, Florence, with its arches, columns, pedimented door and inscription

Santissima Annunziata portico, Florence. Photogrammetry: E. Pellis et al., CC BY 4.0, adapted.

Facade elevations

A photogrammetric orthophoto of a Renaissance portico. PhotoCAD draws the arches, columns, capitals, and the pedimented door, reads the inscription letter for letter, and leaves the deep shadows out.

PhotoCAD compared with the other ways to draw from an orthophoto

PhotoCAD compared with the other ways to draw from an orthophoto
MethodTimeCostWhat you get
Trace it by handTimeHours per elevationCostYour timeAttach the orthophoto in AutoCAD, scale it from two points, and draw every stone and opening on layers.
Auto-traceTimeMinutes, then cleanupCostIn AutoCAD or IllustratorFollows pixel edges, not the building, so stains, shadows, and weathering become a tangle of lines to delete.
Drafting serviceTimeDaysCostHundreds of dollars per elevationA survey or drafting firm draws the elevation from your orthophoto or scan, to their standard.

From orthophoto to CAD drawing, step by step

  1. TIF
    1

    Export the orthophoto

    Project the model onto the plane you are drawing, the facade, the wall, or the floor, and export the orthophoto as a JPG, PNG, or TIFF, cropped to that front.

Match the crop to your drawing scale

PhotoCAD converts each image at a fixed resolution, so a close crop gives every stone more detail than a whole front does. Historic England sets the largest orthophoto pixel for each drawing scale; this is the width of facade that allows in one conversion.

Match the crop to your drawing scale
Drawing scaleFacade per conversion, aboutGood for
1:20 (1 mm pixel)2.4 mOne bay, a window or door surround, stone by stone
1:50 (2 mm pixel)

Architectural photogrammetry has made the orthophoto the standard record of a building: a photograph with the perspective taken out, true to scale across a whole facade, an interior wall, or a floor. Historic England now treats it as the more accurate successor to rectified photography. But the client, the conservation officer, or the repair contractor still wants a measured drawing, and the usual way to make one is to attach the orthophoto in CAD and trace every opening, course, and stone by hand.

Tracing tools cannot do that for you: they follow pixel boundaries, so every stain, shadow, and patch of weathering becomes a line. PhotoCAD works from a semantic understanding of the image instead. It sees the architecture, the openings, moldings, string courses, and joints in the masonry, and drafts it as clean, proportionally accurate vector lines, with nothing for the stains and shadows. Set the scale from a length you surveyed, lay the drawing on a sheet at 1:50 or 1:100, and download a DWG that opens at real size: an as-built drawing for a heritage survey, a repair schedule, or a permit set.

A record drawing must show what is there and nothing else. PhotoCAD does the initial drafting; you review it against the orthophoto, where a ragged edge may have been tidied or an unclear detail misread, and correct it in CAD before you issue it.

For the best result

  • Planar, square-on

    Project onto the facade plane. A planar orthophoto keeps every opening its true shape across the whole front.

Ready to try it?

Upload an orthophoto and see PhotoCAD draft the elevation in a minute.
Your first 3 conversions are free — no card required.

Convert an orthophoto

Frequently Asked Questions

Use your photogrammetry software's planar or ortho projection export. In Metashape it is the orthomosaic with planar projection onto the facade (Professional edition); in RealityCapture and RealityScan it is Ortho Projection with a side view. Export a JPG, PNG, or TIFF and upload it to PhotoCAD.

Yes, a plan of whatever the orthophoto shows from above: a floor's pattern and finishes, or the walls of a roofless ruin. For a site or roof plan from a drone, see the guide to aerial images; for trenches and features, the guide to archaeological drawing.

Both are photographs with the perspective removed, true to scale across the frame. An orthomosaic is stitched from many overlapping photos, the usual output of drone mapping; orthophoto is the broader word and also covers a single rectified photograph. For a facade, what matters is that it is projected onto the facade plane rather than the ground. PhotoCAD converts either the same way.

Yes. A photo taken square-on works, and PhotoCAD squares up a building front photographed at an angle; the guide to elevation drawings from photos covers that. An orthophoto is better when accuracy matters, because it has no perspective anywhere in the frame.

Yes, as the drafting stage of one: the geometry follows the orthophoto in proportion, and you set the scale from a surveyed length. PhotoCAD can simplify an irregular stone or occasionally misread a small detail, so check the drawing against the orthophoto, correct it, and describe how it was made.

On most fronts, yes: courses and joints are drawn wherever they can be seen, which is what a stone-by-stone elevation needs. For the finest joints, convert one bay at a time (the table on this page gives sizes by scale).

Keep exploring

Categories

Architecture & Buildings

Use cases

SurveyorsArchitectureHeritage & Archaeology

Converters

JPG to DWGPNG to DWGImage to CADPDF to DWG

Guides

Photo to elevation drawingPoint cloud to CADArchaeological drawingAerial image to CAD

Interior walls

An orthophoto of a wall inside, drafted as an interior elevation for a fit-out, a repair, or a conservation record.

  • Rectified photographs

    Rectified photography, the long-standing heritage method, drafted the same way as an orthophoto.

  • Floors and pavements

    An orthomosaic of a floor, tiles, or a mosaic, drafted as a plan of the pattern and its borders.
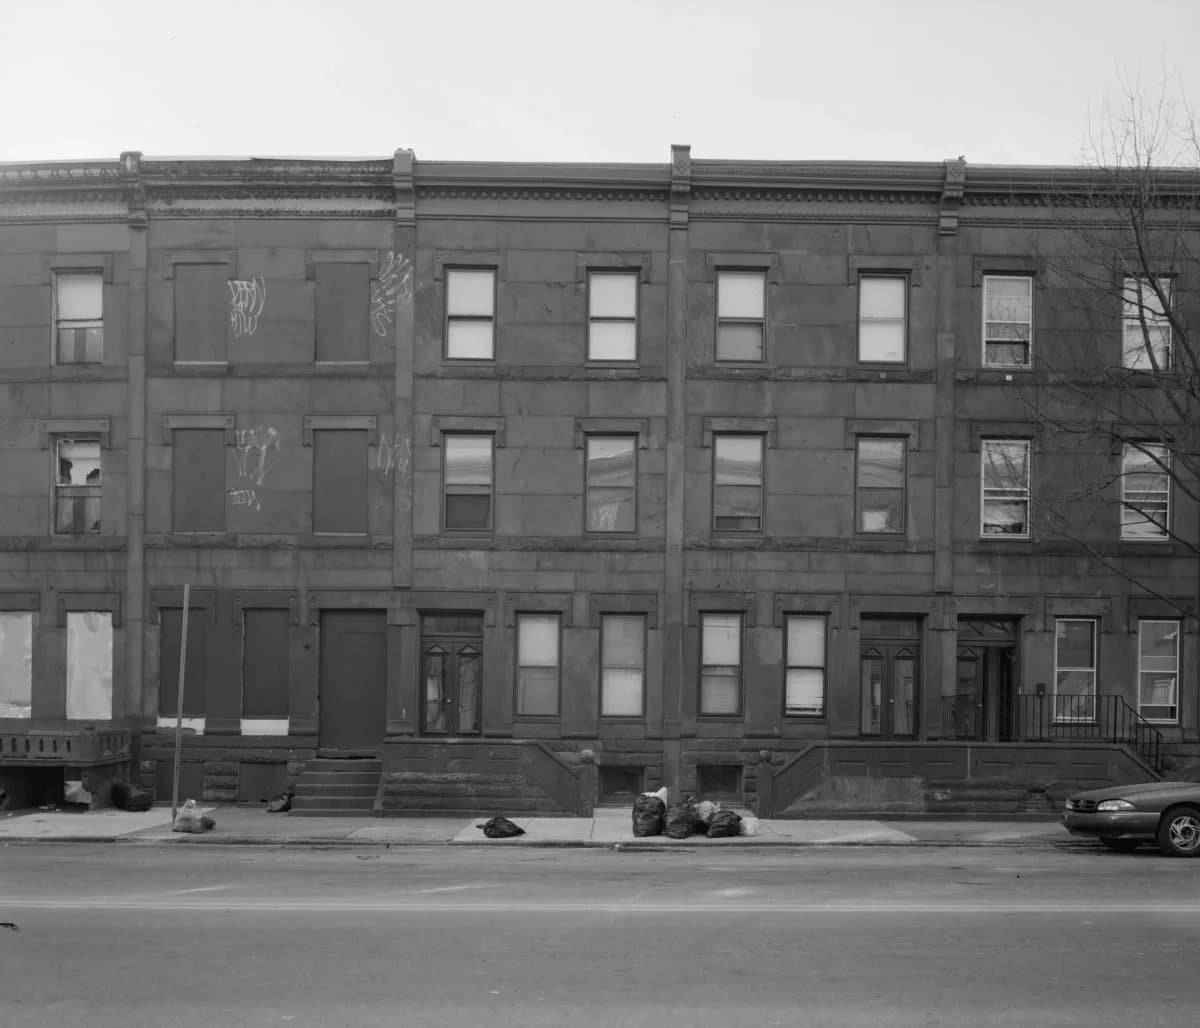
  • Original photo of Diamond Street Row Houses Street Elevation
    Street elevation line drawing of attached row houses on Diamond Street, Philadelphia, with cornices, windows, doors and stoops

    Diamond Street, Philadelphia. Photo: Joseph Elliott, HABS, Library of Congress.

    Street elevations

    Several attached fronts in one image. PhotoCAD draws the cornices, window bays, doors, and stoops as one continuous elevation.
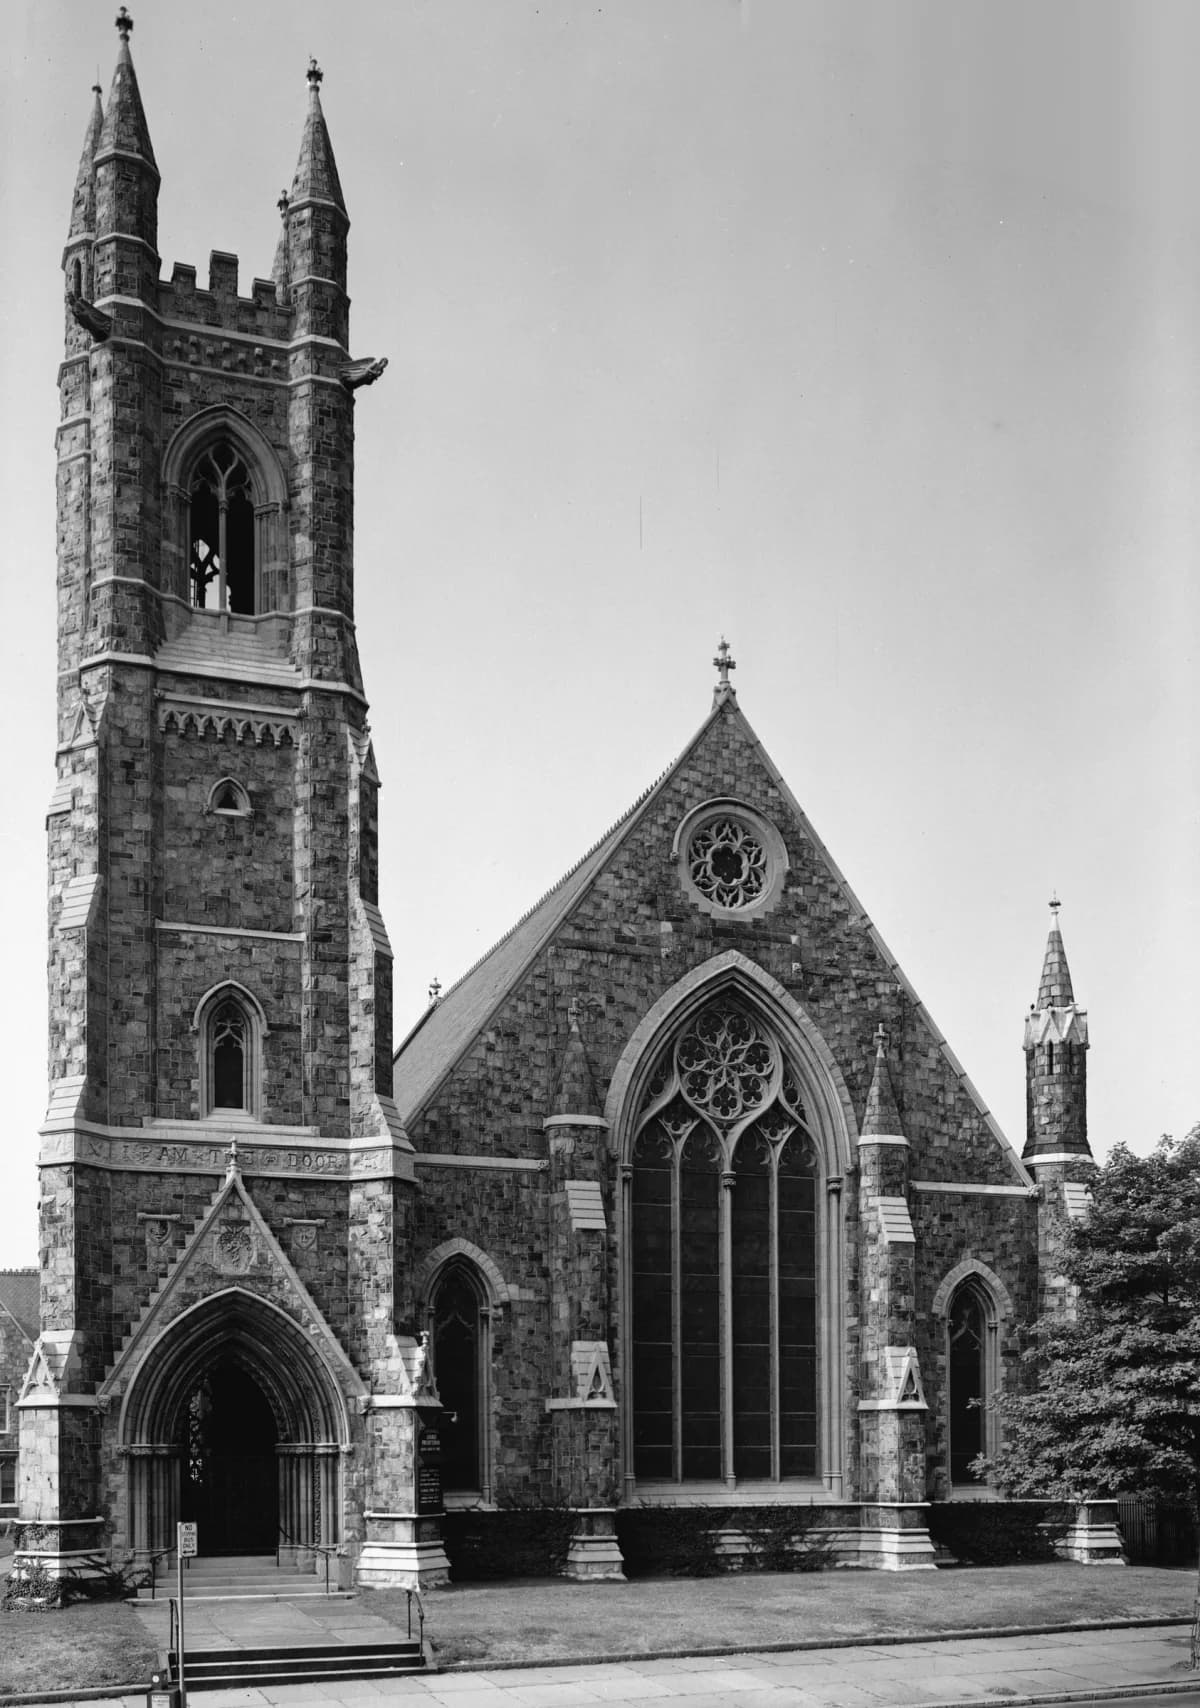
    Original photo of Tabernacle Presbyterian Church Front Elevation
    Line drawing of the Gothic Revival front of Tabernacle Presbyterian Church, Philadelphia, with its tower, tracery window and entrance arch

    Tabernacle Presbyterian Church, Philadelphia. Photo: Jack Boucher, HABS, Library of Congress.

    Rectified photographs

    A perspective-corrected photograph of a church front. PhotoCAD draws the tower, the tracery, the rose window, and the entrance arch.
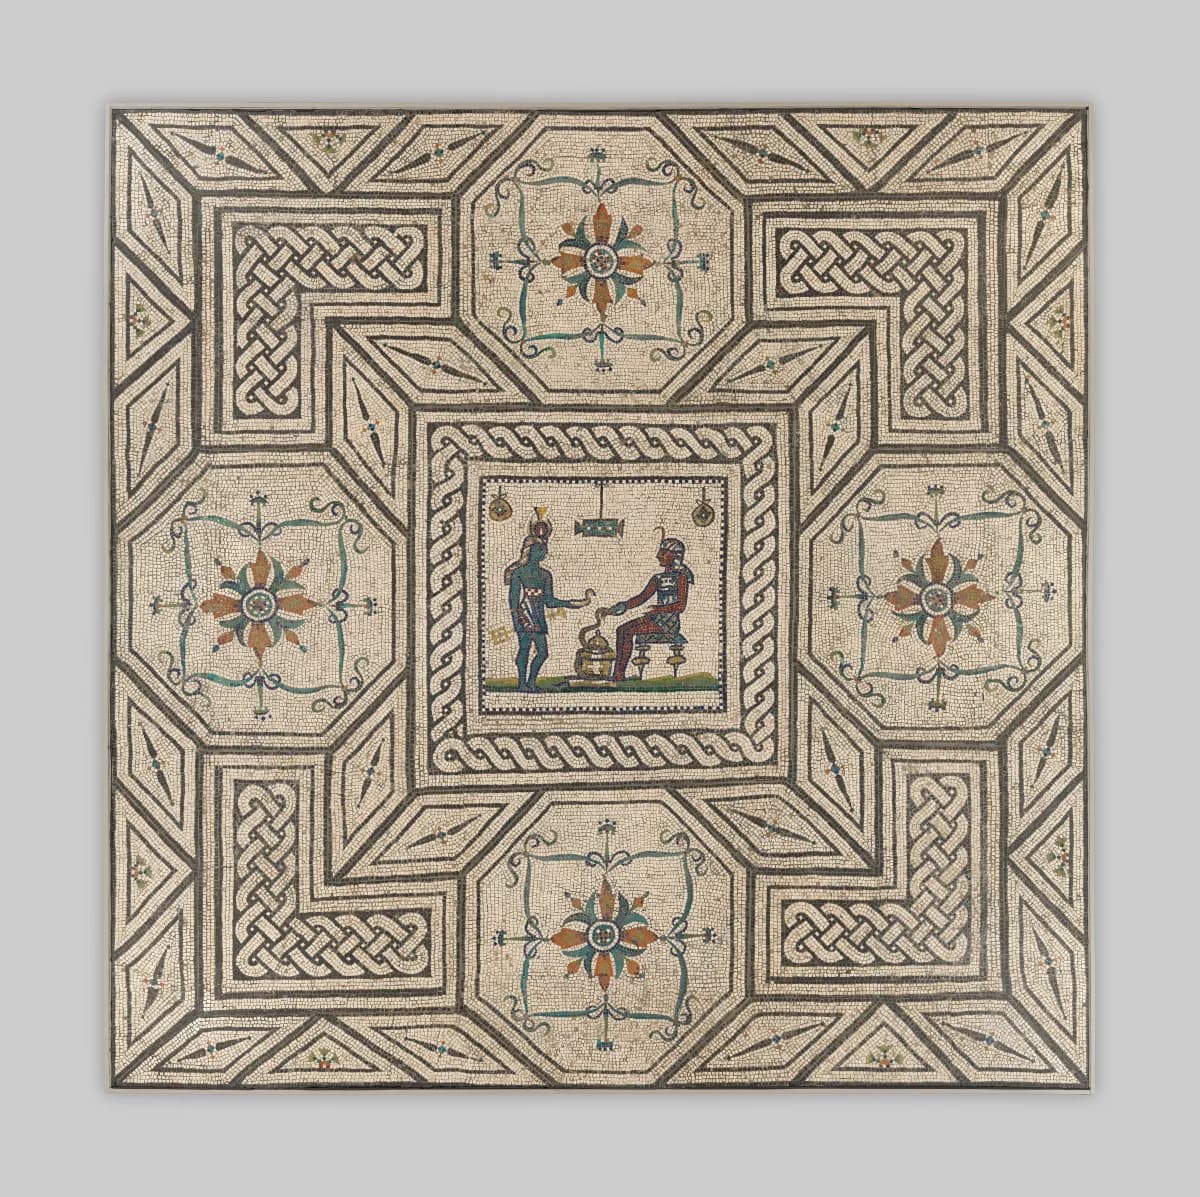
    Original photo of Roman Mosaic Floor Drawing
    Line drawing of a Roman mosaic floor with guilloche borders, octagons, rosettes and a central figured panel

    Roman mosaic floor. The Metropolitan Museum of Art.

    Floor plans and mosaics

    A mosaic floor, photographed straight down. PhotoCAD draws every border, knot, and rosette as linework, ready to set to scale.

    PhotoCADTimeAbout a minuteCost~$1 per drawingDrafts the orthophoto as an elevation or plan: openings, moldings, and stones as clean lines, at real scale, as DWG.
  • TIF
    2

    Upload it to PhotoCAD

    Drop the file into PhotoCAD, up to 150 MB. One front per upload; a long facade can go bay by bay.

  • 3

    Convert

    PhotoCAD recognizes the openings, moldings, string courses, and masonry joints and draws them as clean lines, leaving the stains and shadows out.

  • 12.60 m
    4

    Set the scale

    Click two points with a known distance between them, ideally surveyed control or the full width of the front, and type it.

  • NORTH ELEVATIONDRAWN BYSCALE1:100
    5

    Dimension and sheet it

    Add dimensions and notes, and place the elevation on a titled sheet at 1:50 or 1:100, beside the other fronts.

  • elevation.dwg
    6

    Check it and finish in CAD

    Compare the drawing with the orthophoto, then open the DWG at real size, assign the linework to your layers, and add what a record needs.

  • Convert an orthophoto

    3 free conversions. No card required.

    4.8 m
    A small front, or one bay of a large one
    1:100 (5 mm pixel)12 mA house front, a church gable
    1:200 (10 mm pixel)24 mA short street elevation

    Pixel sizes from Historic England, Geospatial Survey Specifications for Cultural Heritage (HEAG317, 2024). A guide to the detail an image carries, not a statement of accuracy: check every drawing against its orthophoto.

    Bay by bay for stones

    The closer the crop, the more each stone gets. Draw a long front a bay at a time and join the bays on the sheet.

  • Clean the edges

    Mask the sky, scaffolding, parked cars, and the torn edge of the model before export, so they stay out of the drawing.

  • Scale from the longest length

    The full width of the front or two surveyed points, not a single brick.

  • Click two points with a known distance between them and type it: two surveyed control points, or the full width of the front. PhotoCAD does not read the orthophoto's pixel size, so a known length is what sets it. The whole elevation scales to match, in meters or feet and inches.

    PhotoCAD draws lettering as linework, not as editable text, and can misread weathered or illegible lettering. Check every inscription, date stone, and sign against the photograph.

    PhotoCAD puts the converted linework on one layer; the dimensions, labels, and title block you add sit on their own. Reassign outline, openings, and detail to your layers in CAD.

    Your own orthophotos and photographs, or ones you have the right to use. Many heritage datasets online are licensed for non-commercial use only, so check the license before you draw from one for a paid job.

    DWG, DXF, SVG, and PDF from the one conversion. The DWG opens at real size in model space in AutoCAD, Revit, ArchiCAD, or BricsCAD, with the sheet as a paper-space layout if you laid one out.